
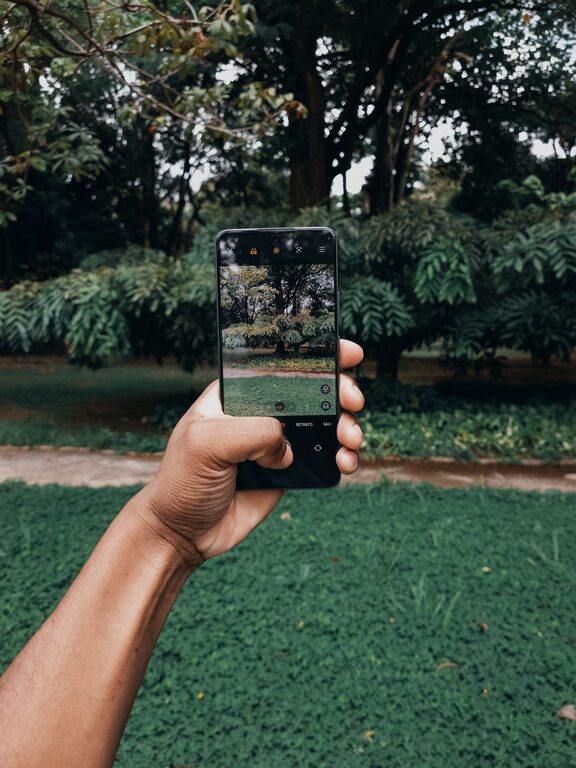
Taking great photos with your phone is easier than ever, thanks to the advanced cameras built into most smartphones today. Whether you’re capturing moments with friends, landscapes, or everyday scenes, a few simple techniques can elevate your photos from ordinary to impressive. If you’re new to phone photography, this guide will walk you through beginner-friendly tips to help you take better pictures.
Understand Your Phone’s Camera
Before diving into photography tips, spend a few minutes exploring your phone’s camera settings. Most smartphones offer features like:
– Gridlines: Helps with composition using the rule of thirds.
– HDR Mode: Balances light and shadows in high-contrast scenes.
– Focus and Exposure Controls: Allows you to select what part of the image is sharp and adjust brightness.
– Different Lenses: Some phones have wide-angle, telephoto, or macro lenses for varied effects.
Familiarizing yourself with these tools will give you more control over your photos.
Master Basic Composition Techniques
Composition makes a huge difference in how your photos look. Here are some essential rules to keep in mind:
Use the Rule of Thirds
Turn on the gridlines in your camera settings. Imagine your image divided into nine equal parts by two horizontal and two vertical lines. Position your main subject along these lines or at their intersections for a balanced, interesting photo.
Look for Leading Lines
Leading lines are natural lines in the scene that guide the viewer’s eye toward the subject. Examples include roads, fences, or bridges. Position these lines so they draw attention to what’s important.
Simplify Your Background
A cluttered background can distract from your subject. Try to find a clean, simple backdrop or change your angle to minimize distractions.
Experiment with Angles and Perspectives
Don’t always shoot at eye level. Crouch down, shoot from above, or try side angles to add variety and interest to your photos.
Use Natural Light to Your Advantage
Lighting is key to good photography. Here’s how to work with natural light:
– Shoot during the Golden Hour: Early morning or late afternoon light is soft and warm, ideal for flattering photos.
– Avoid harsh midday sunlight: This can cause strong shadows and highlights. If shooting midday, look for shaded areas.
– Face your light source: Position your subject so the light is coming toward them, ensuring they are well-lit.
Keep Your Phone Steady
Blurry pictures are often the result of camera shake. To avoid this:
– Hold your phone with both hands.
– Tuck your elbows into your sides for support.
– Lean against a stable surface when possible.
– Use a tripod or phone stand for extra stability, especially in low light.
Focus and Exposure
On most phones, tapping the screen where you want to focus will sharpen that area. You can also adjust exposure (brightness) by sliding your finger up or down after tapping. Proper focus and exposure ensure your subject looks crisp and well-lit.
Avoid Using Zoom When Possible
Digital zoom reduces photo quality by cropping and enlarging the image. Instead, move closer to your subject or crop later using photo editing apps.
Edit Your Photos
Editing can enhance your images dramatically. Many smartphones come with built-in editing tools or you can use apps like Snapseed or Lightroom Mobile. Start with simple adjustments:
– Crop to improve composition.
– Adjust brightness, contrast, and saturation.
– Straighten tilted horizons.
– Apply filters sparingly to maintain a natural look.
Practice Regularly and Experiment
The best way to improve is by practicing. Take photos in different lighting conditions, try new angles, and don’t be afraid to experiment. Review your shots and note what works best.
Final Thoughts
With these beginner tips, you can start capturing better photos with your phone right away. Remember, photography is both an art and a skill, so patience and practice will lead to steady improvement. Happy shooting!
About the Author